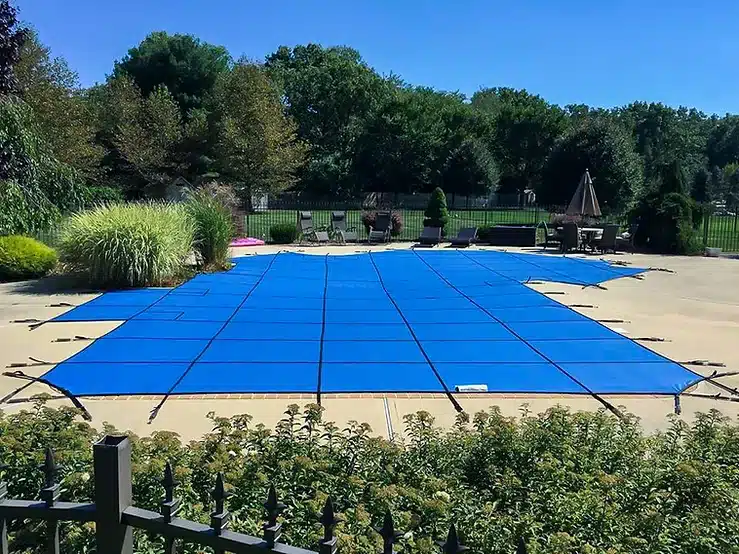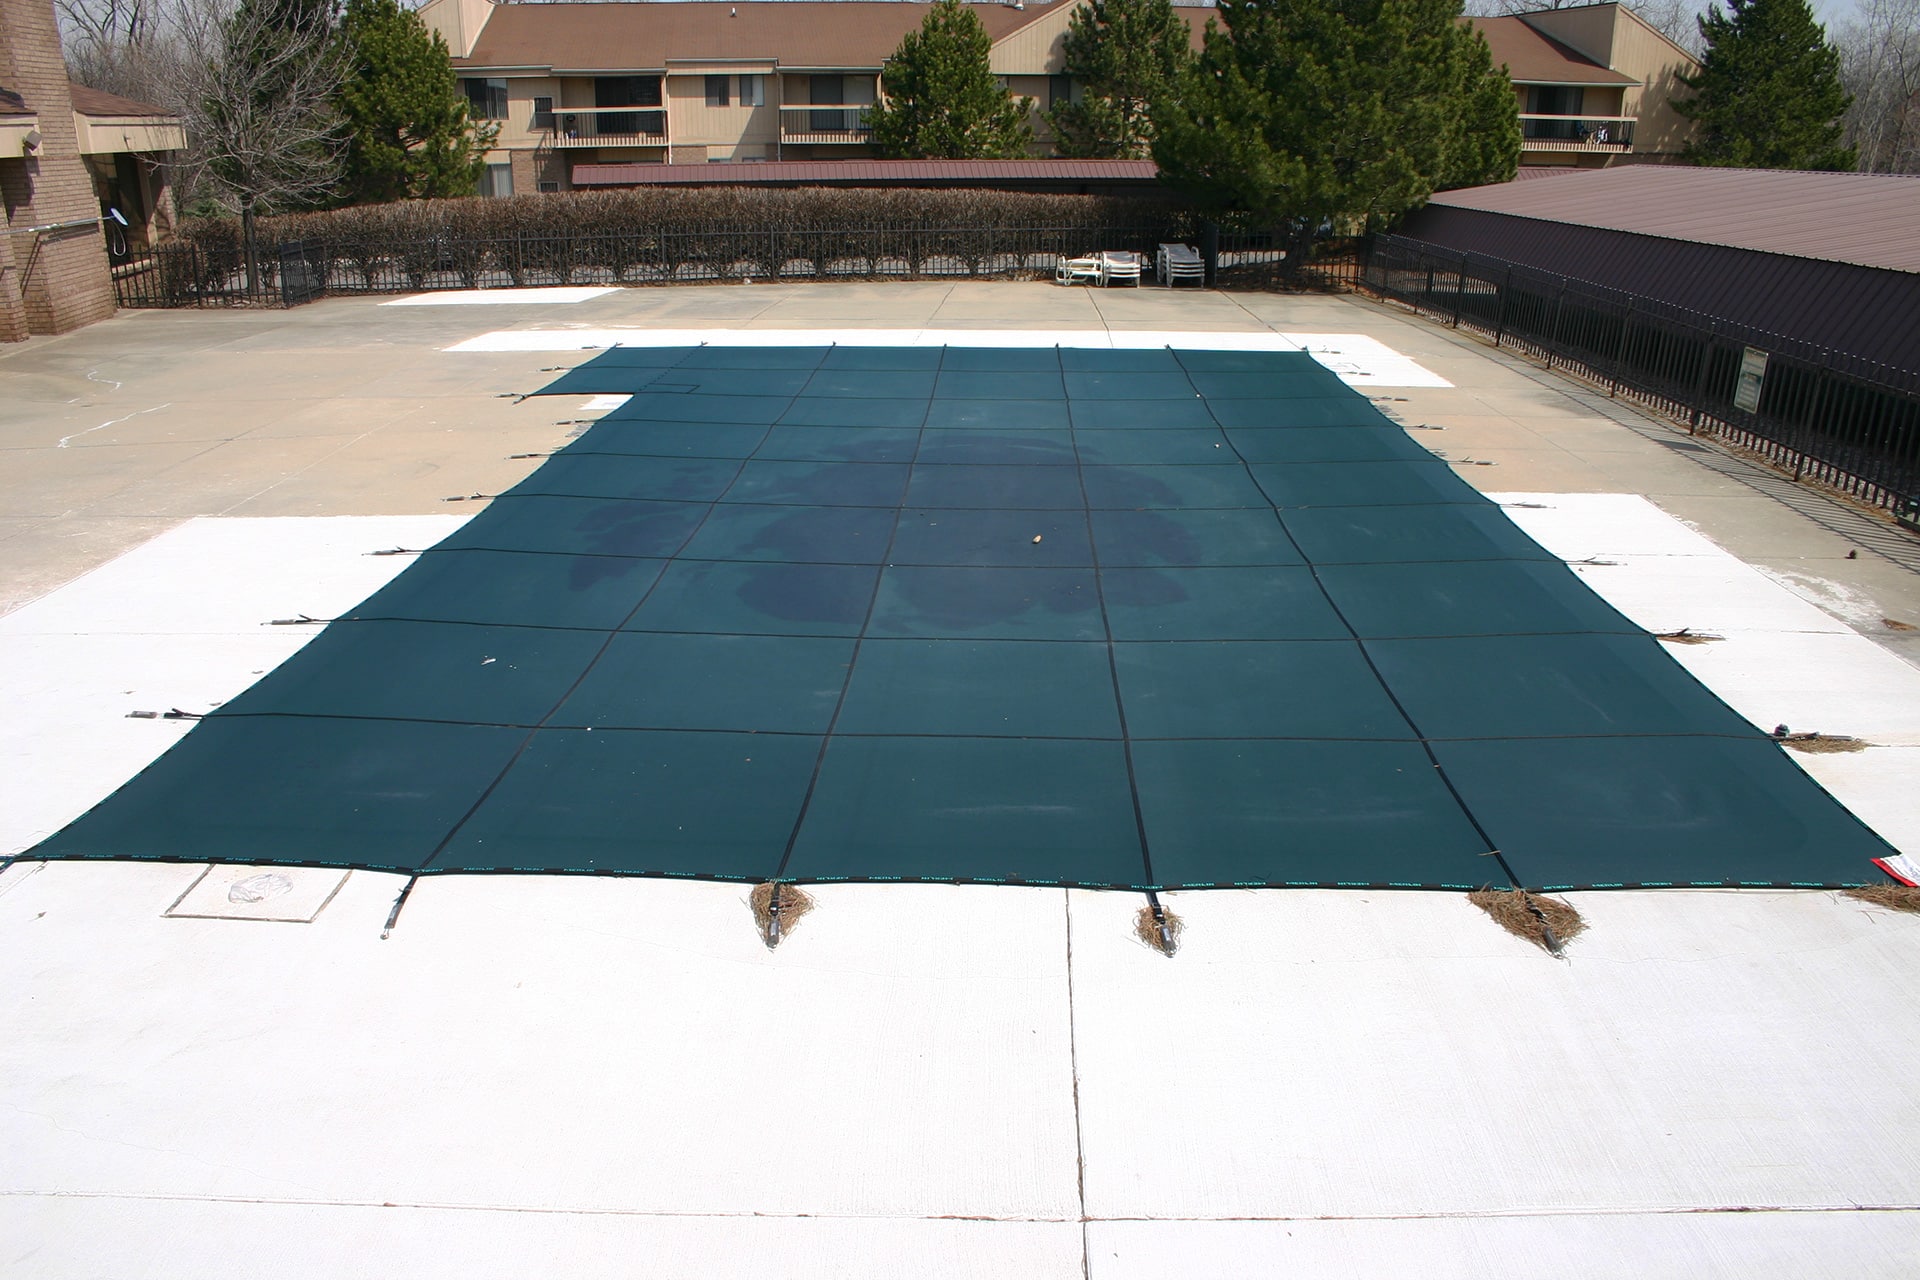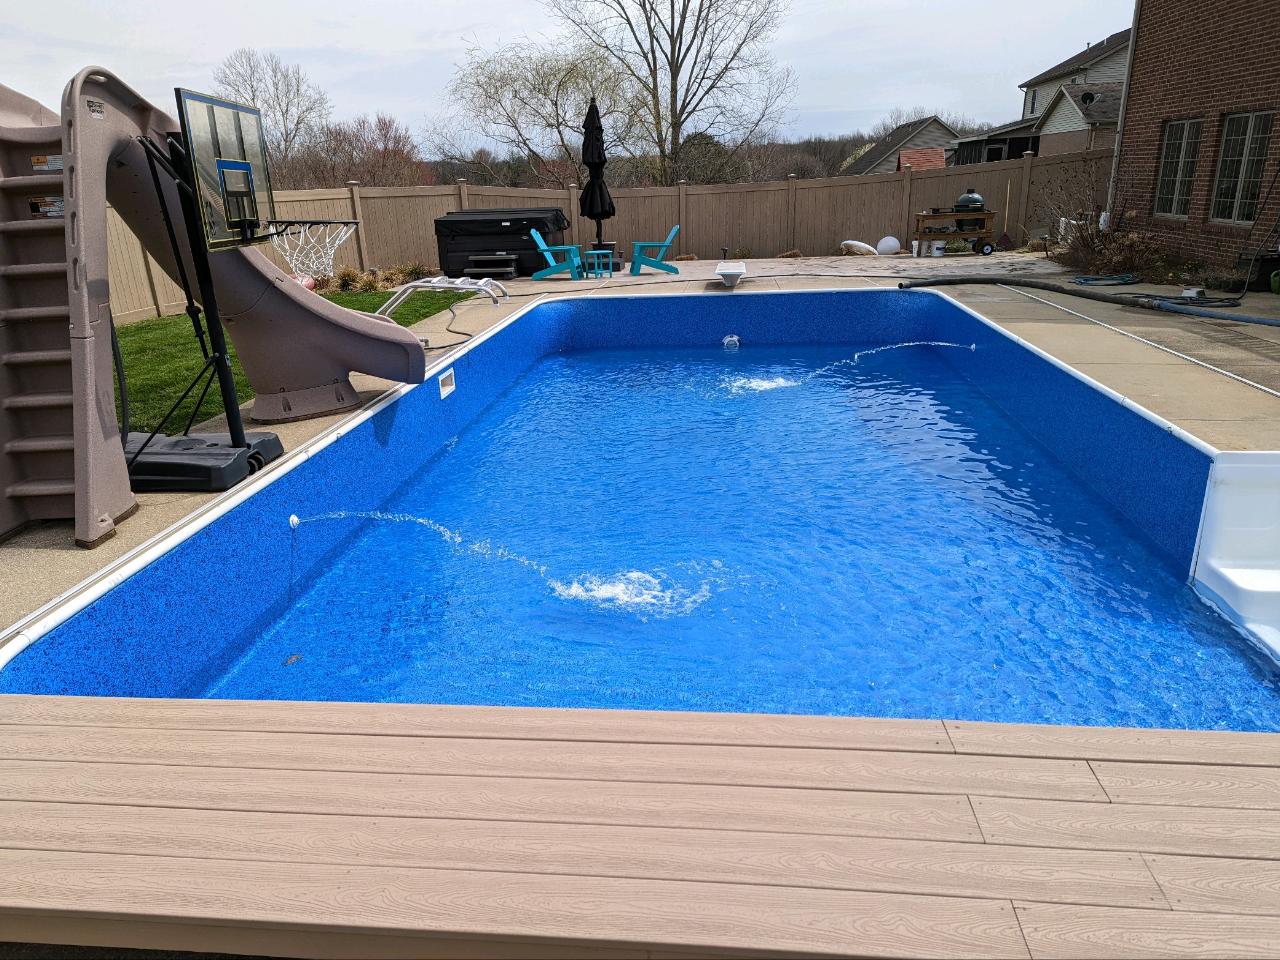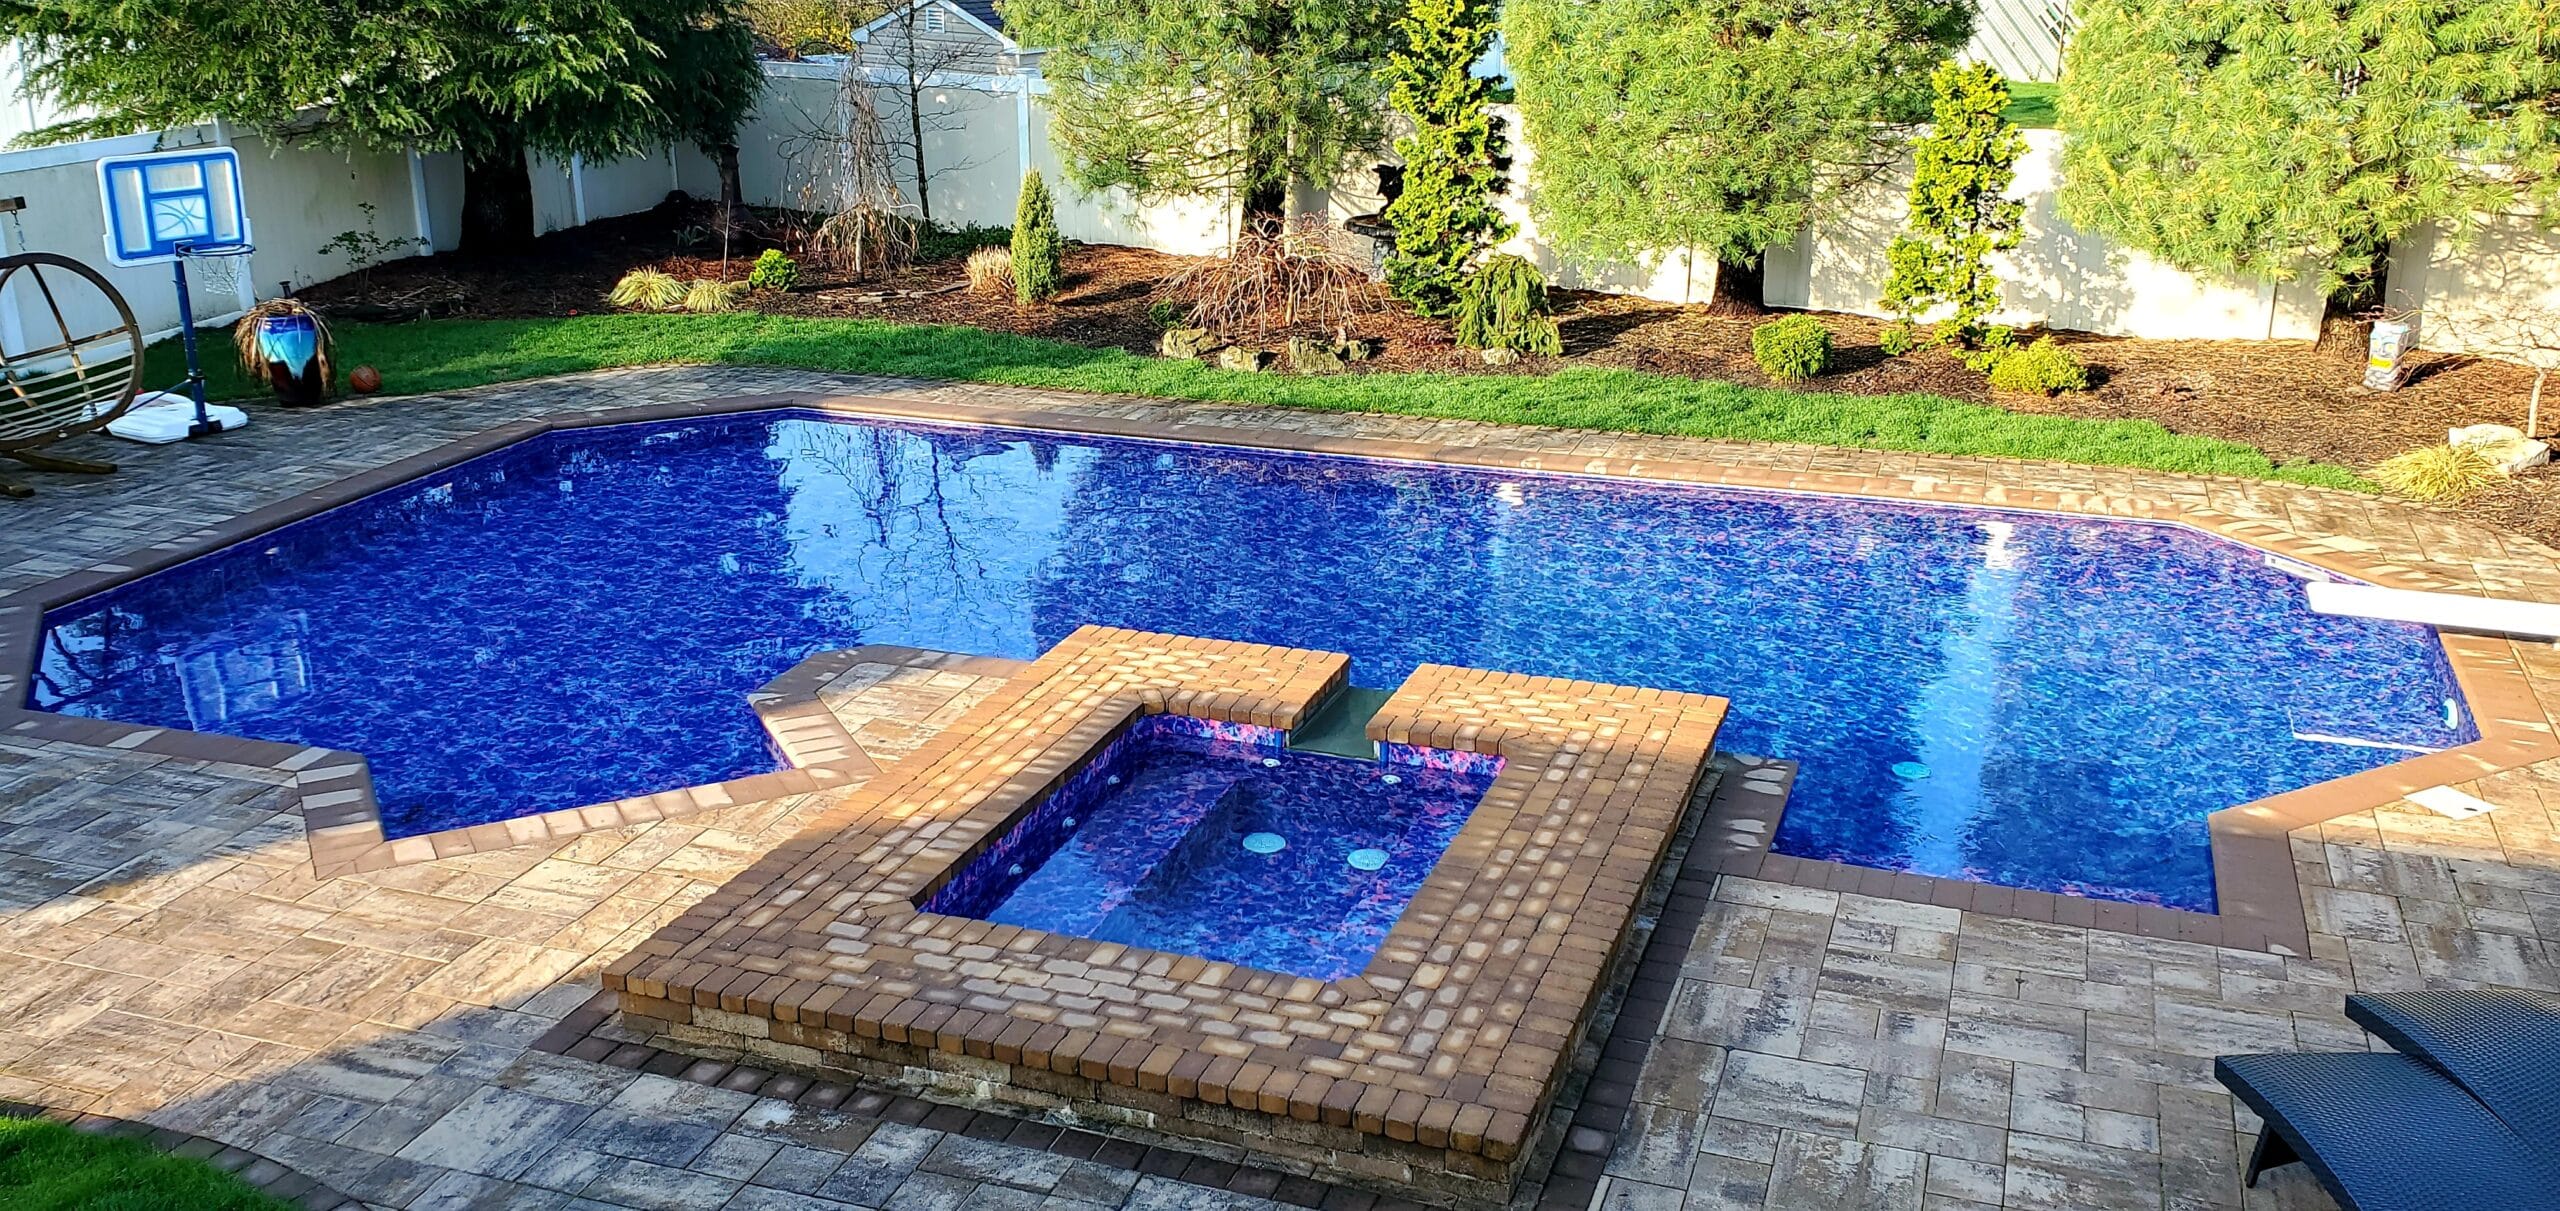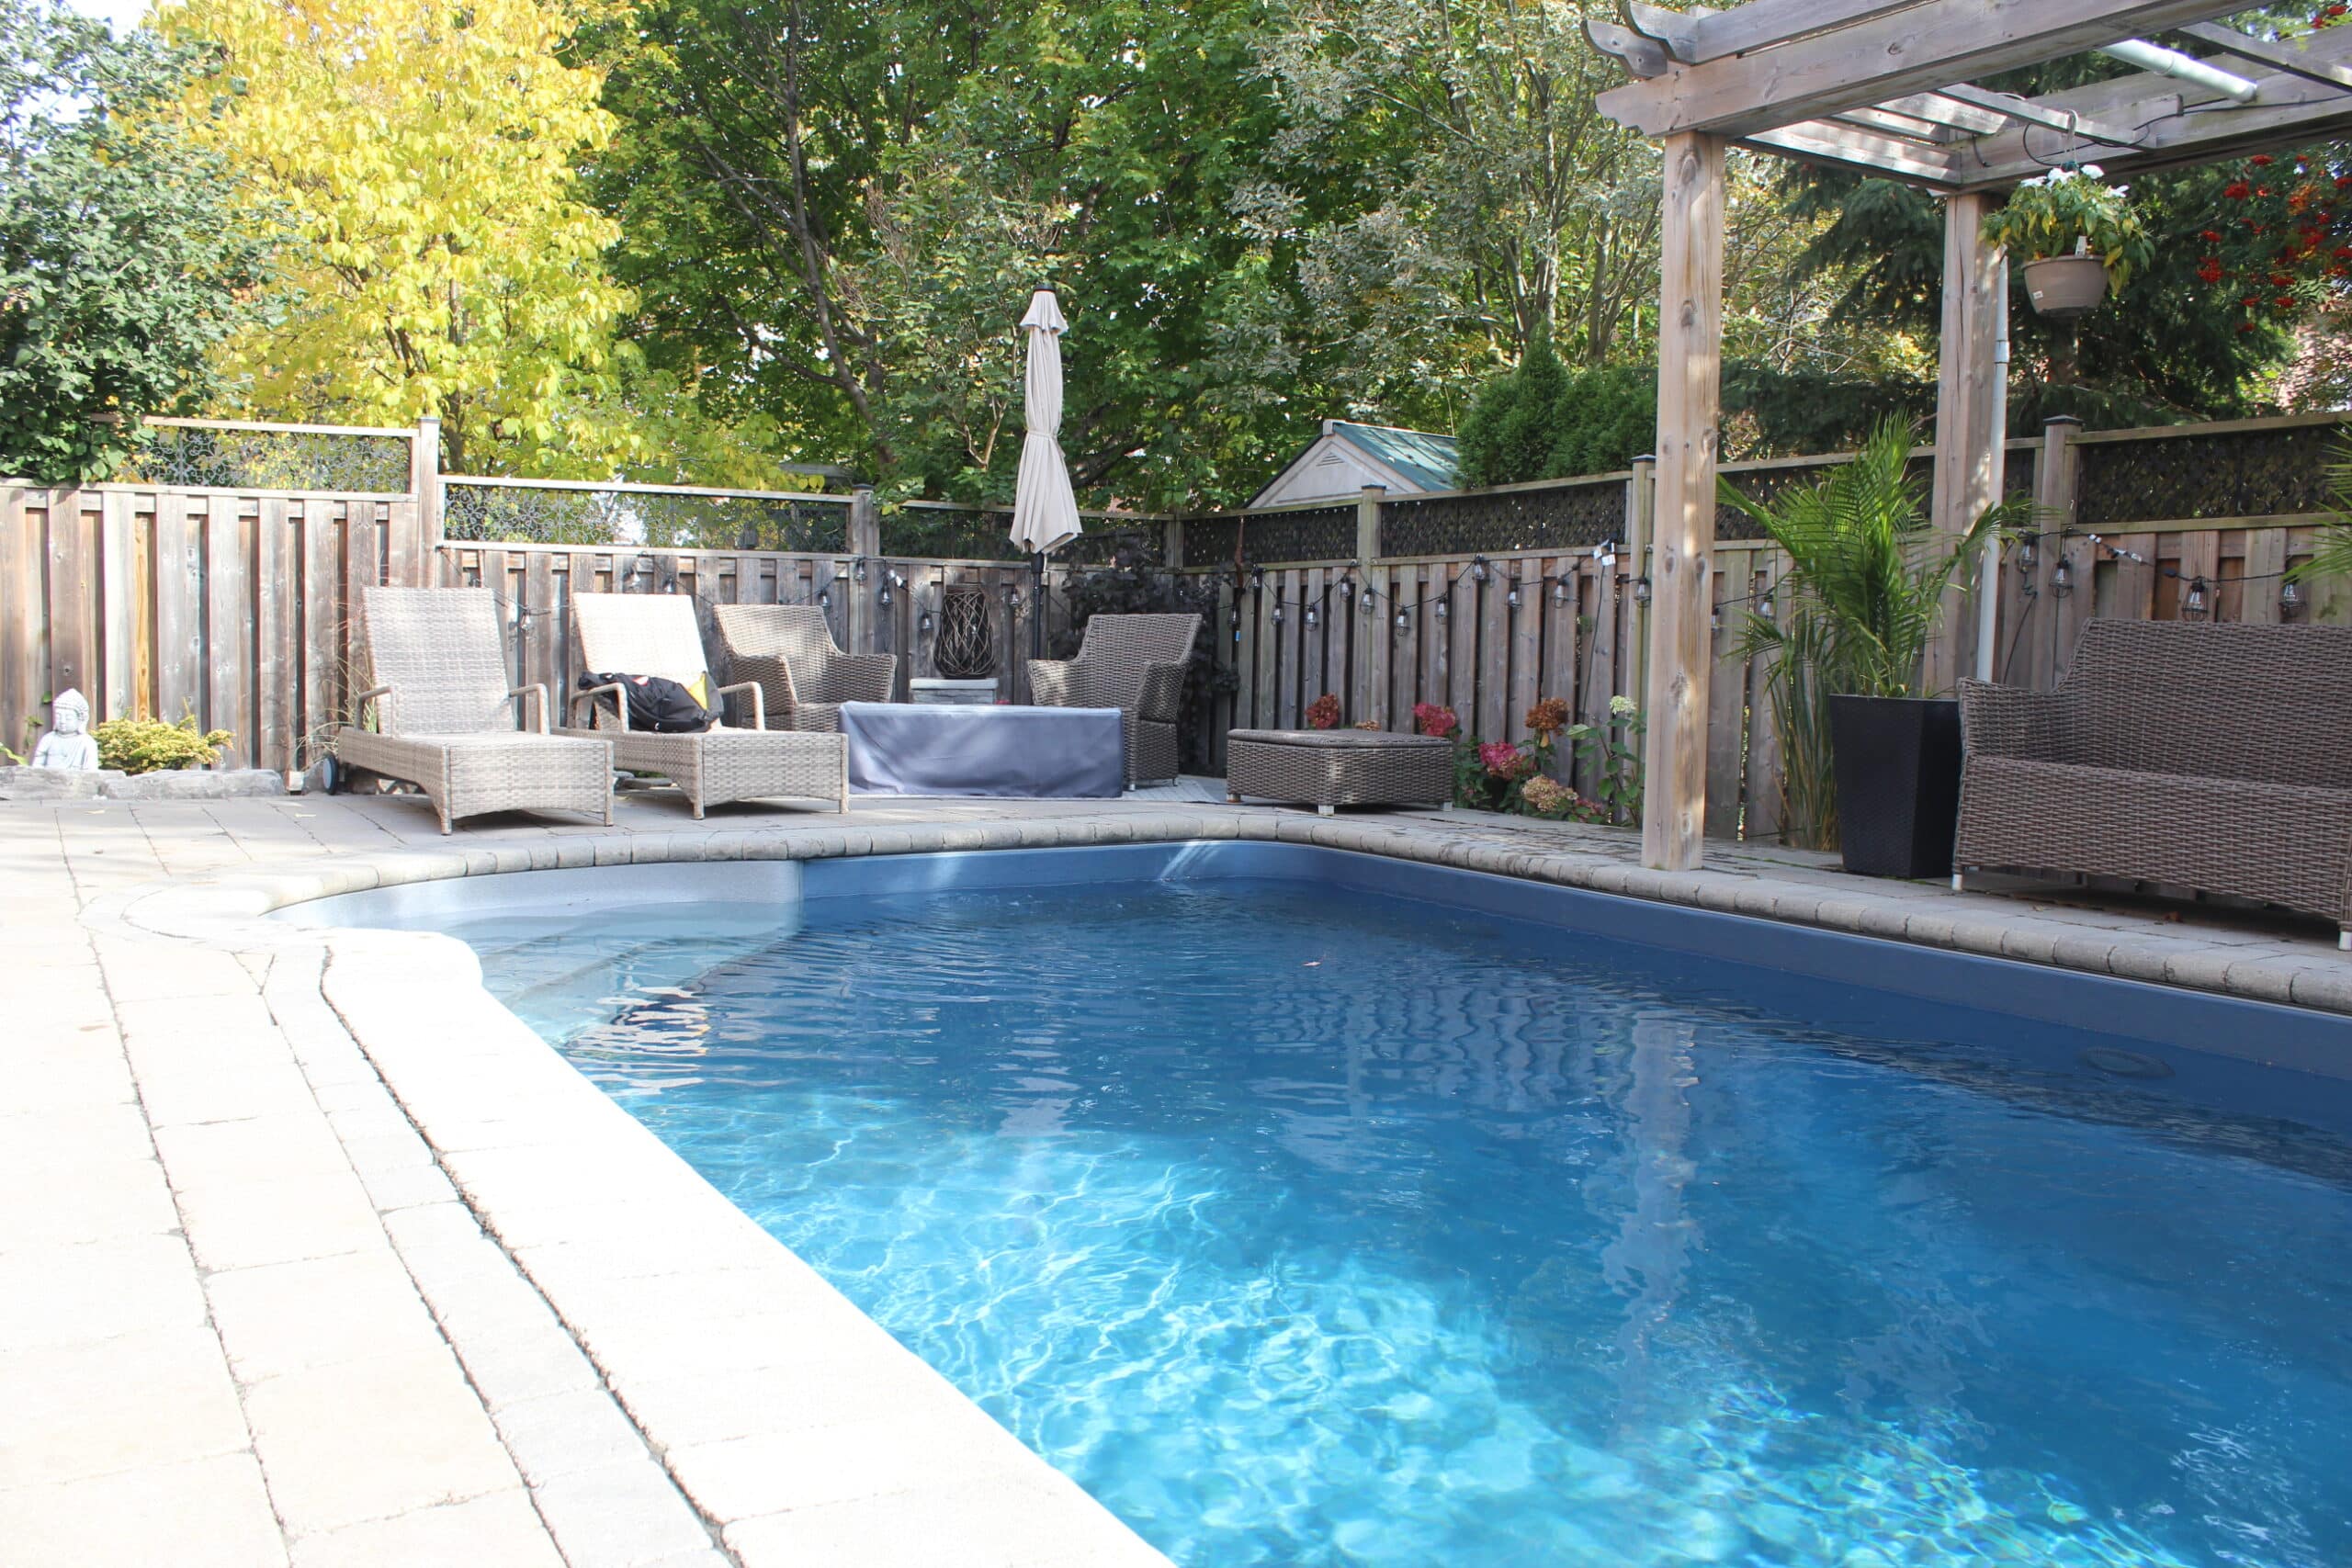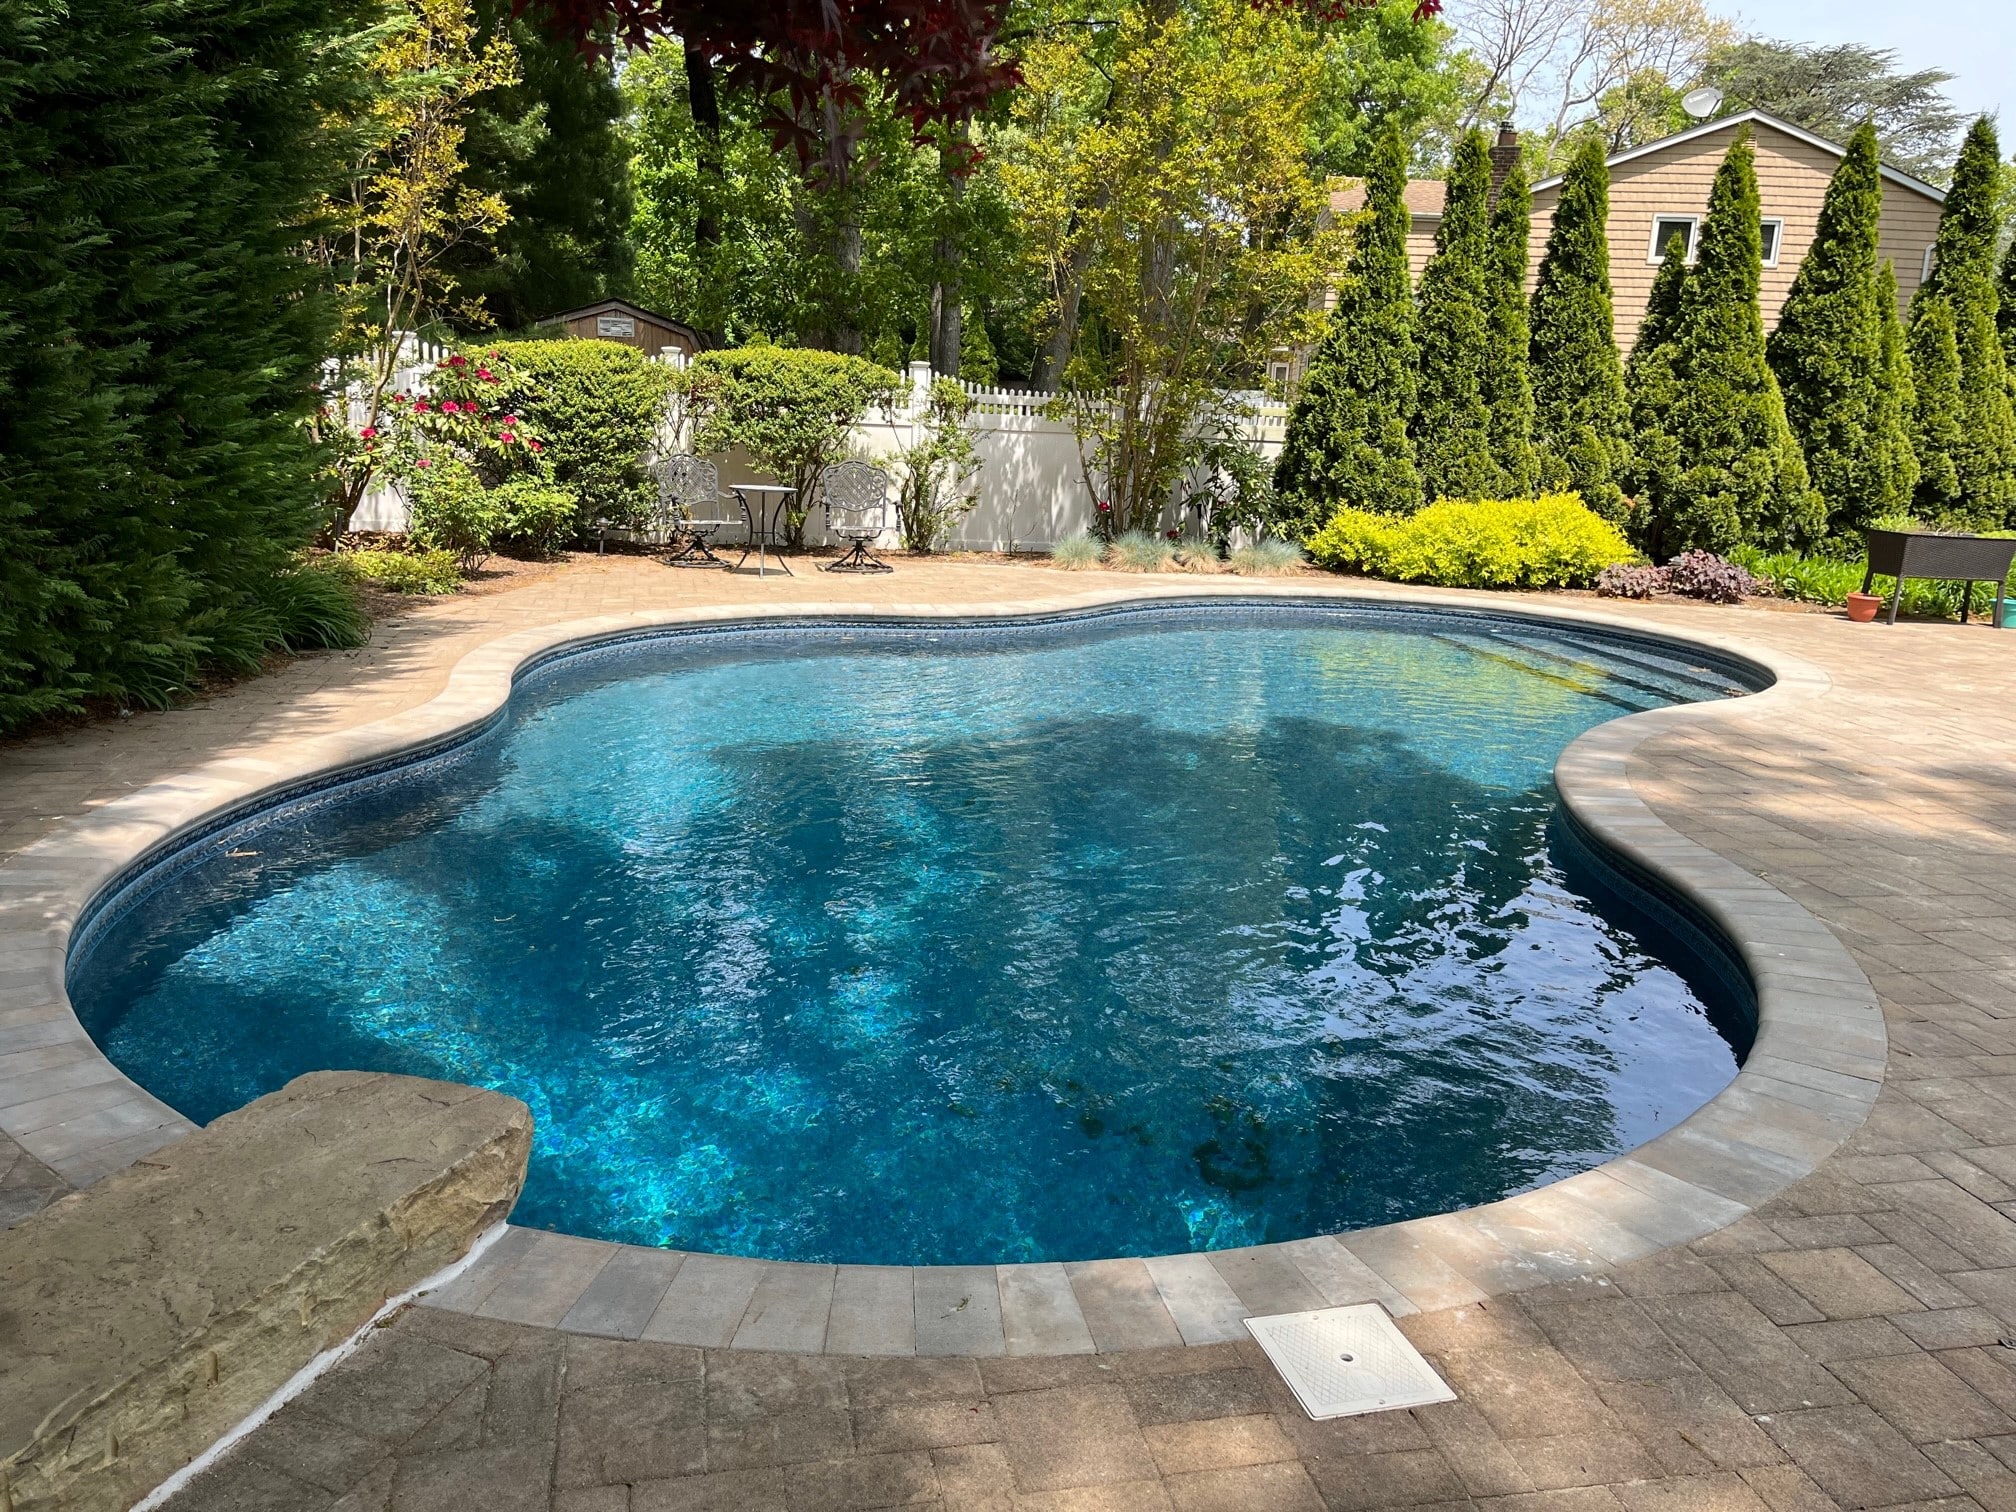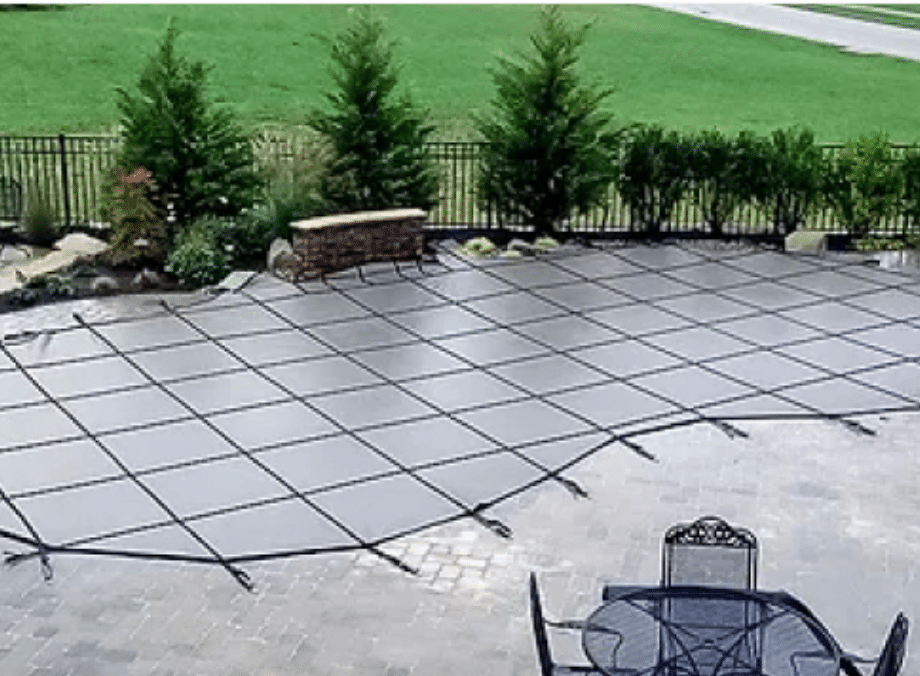
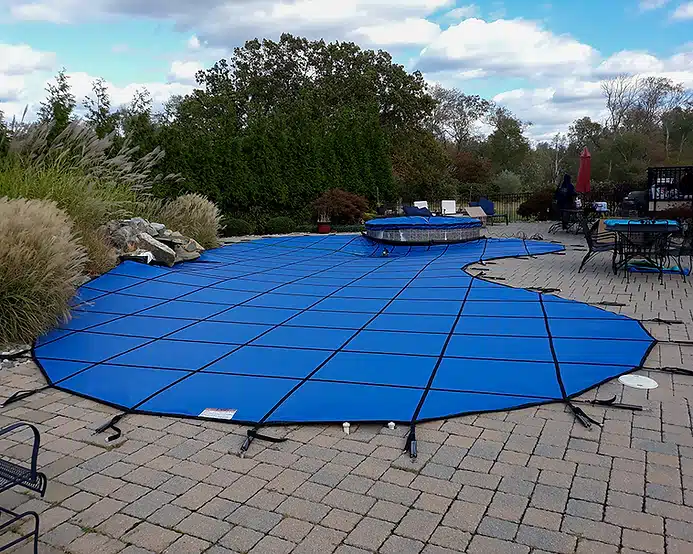
A pool cover is an essential investment for protecting your pool, improving safety, and reducing maintenance. However, not all pools are standard rectangles, and unique shapes require customized solutions. Whether your pool is freeform, kidney-shaped, or features built-in elements like steps or spas, a custom pool cover ensures a precise fit and maximum performance. Understanding your options can help you choose a cover that works perfectly for your space.
Understanding Your Pool’s Shape and Features
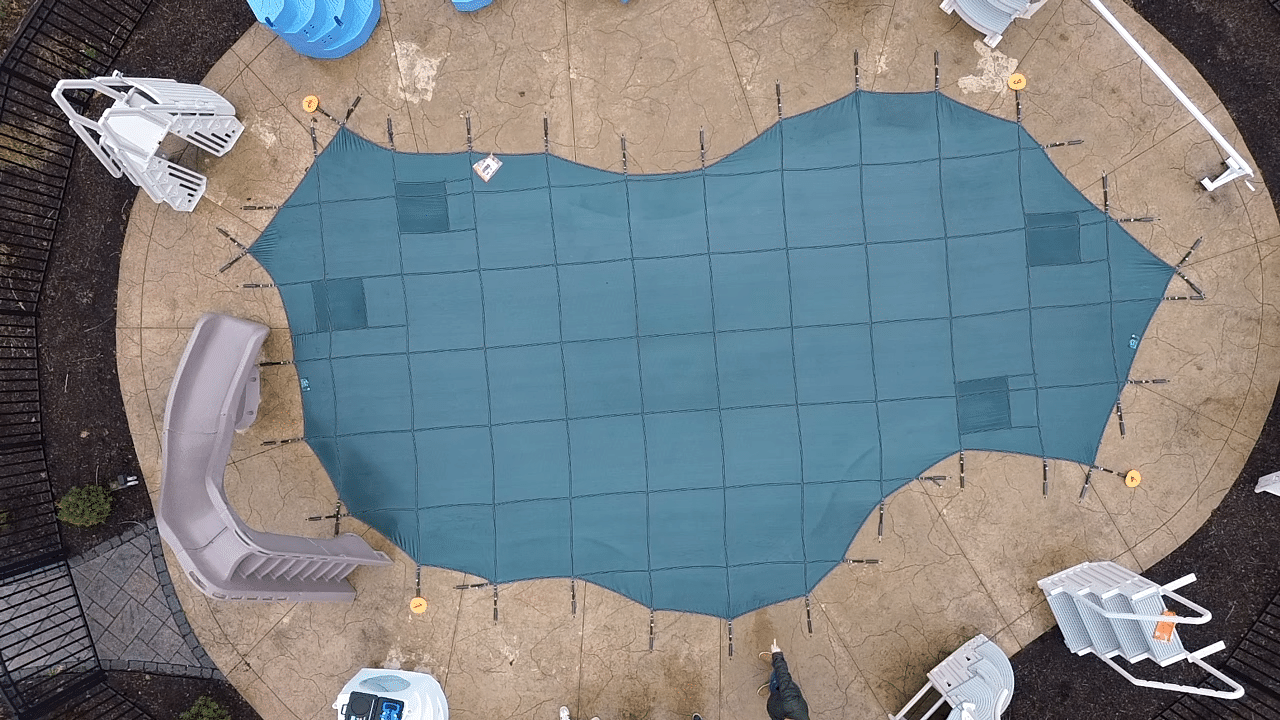
The first step in customizing a pool cover is evaluating the exact shape and layout of your pool. Freeform designs, curved edges, tanning ledges, and attached spas all affect how a cover should be measured and installed. Taking accurate measurements or working with a professional ensures that every curve and corner is accounted for. A properly fitted cover not only looks better but also provides better protection and efficiency.
Choosing the Right Type of Pool Cover
There are several types of pool covers to consider, including safety covers, automatic covers, and solar covers. Each option offers different benefits depending on your needs. Safety covers are ideal for preventing accidents, while automatic covers provide convenience with the push of a button. Solar covers help retain heat and reduce evaporation. Selecting the right type is important when customizing, as some covers are better suited for complex shapes than others.
Custom Measuring and Fabrication
Custom pool covers are made based on precise measurements of your pool’s dimensions. Professionals often use templates or advanced measuring techniques to capture the exact shape. This process ensures that the final product fits snugly around curves, corners, and built-in features. Custom fabrication allows for a tailored solution that standard covers simply cannot provide, improving both performance and appearance.
Accommodating Unique Pool Features
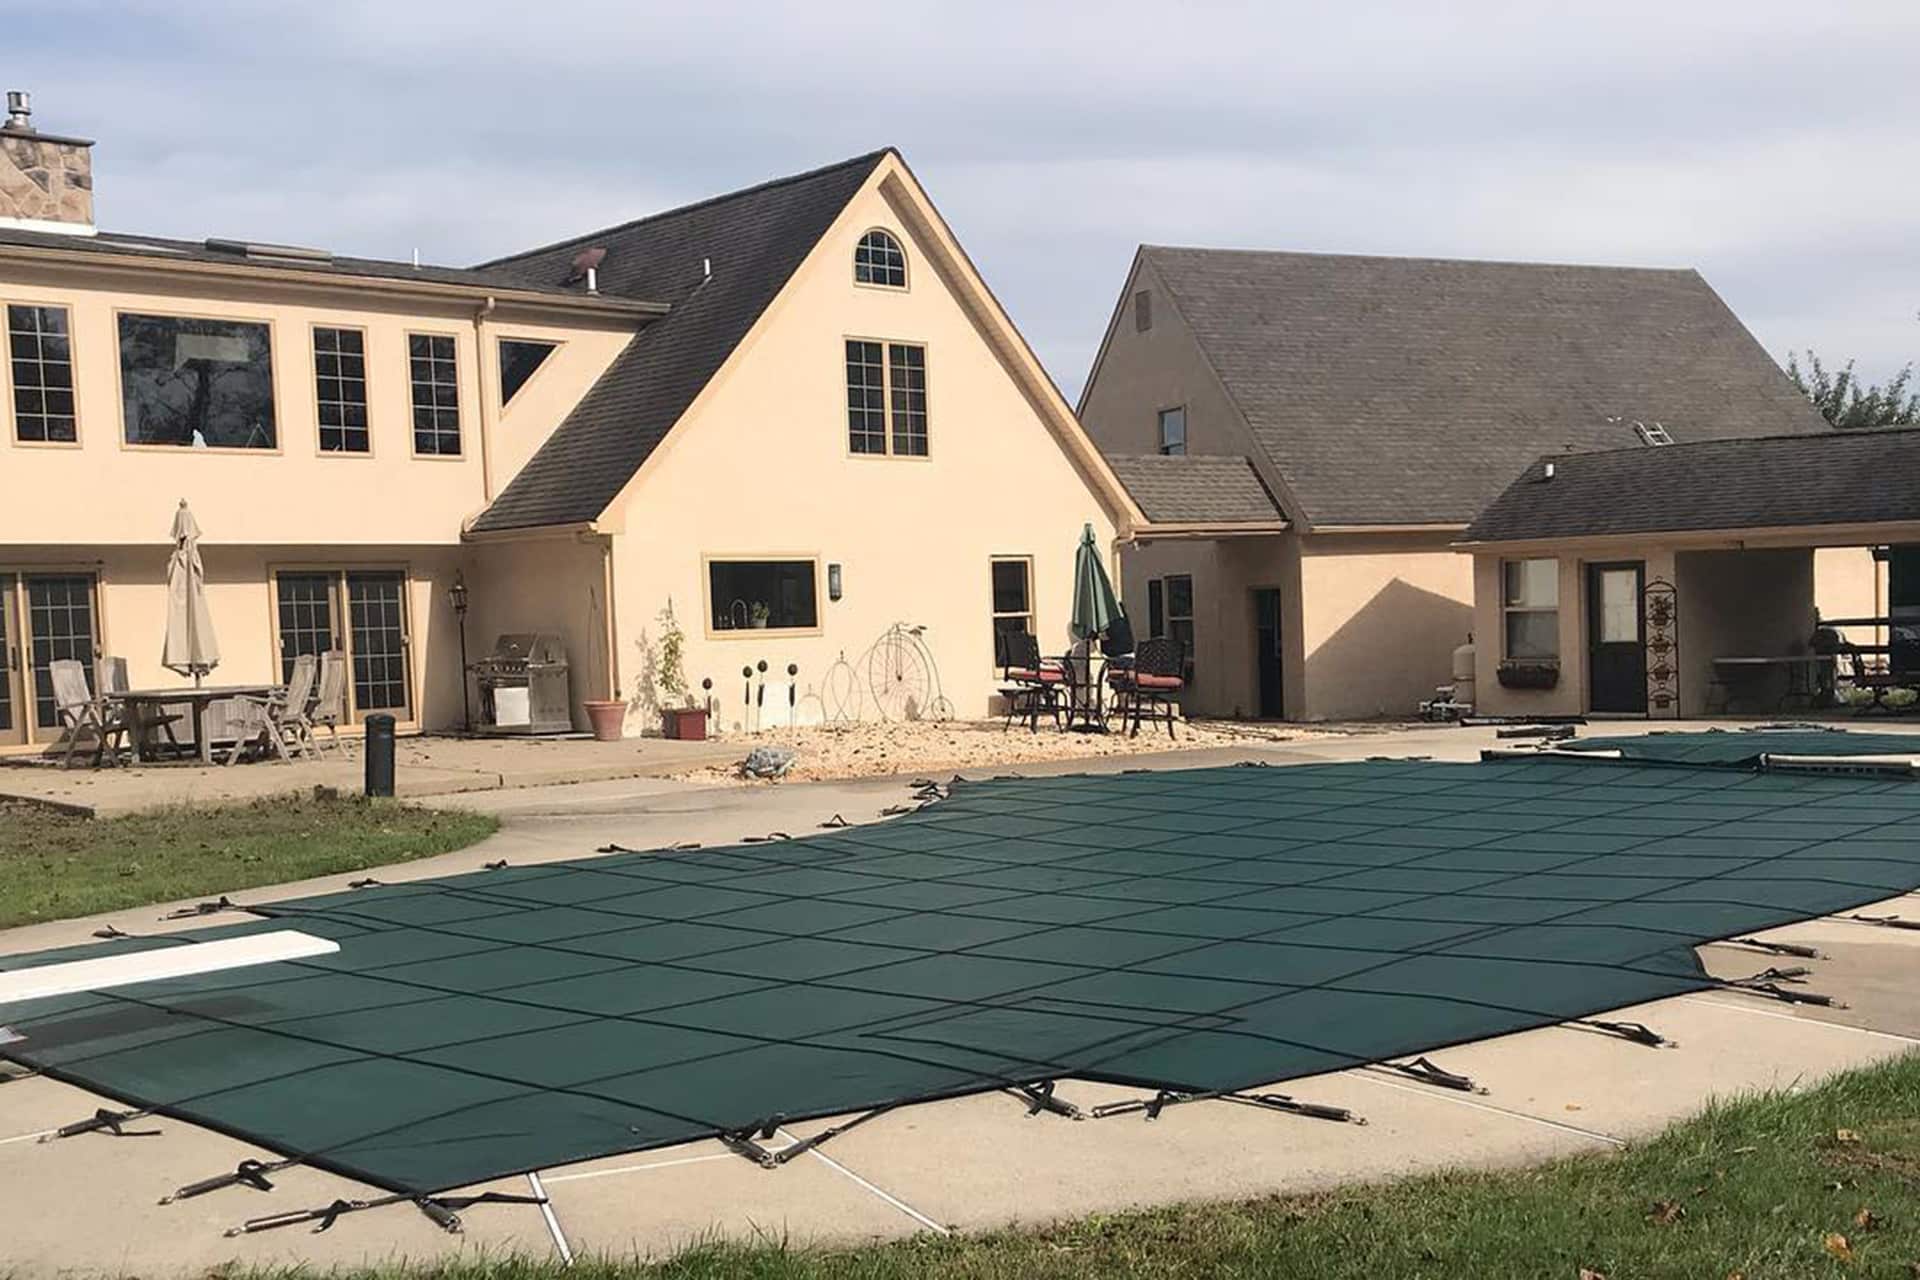
Pools with features like steps, waterfalls, or raised spas require special consideration during customization. A custom cover can be designed with cutouts or adjustments to fit around these elements without leaving gaps. This ensures full coverage while maintaining the functionality and aesthetics of your pool. Addressing these details during the design phase prevents issues later on.
Selecting Durable Materials
The material of your pool cover plays a major role in its longevity and effectiveness. High-quality materials are designed to withstand weather conditions, resist wear and tear, and provide long-lasting protection. Options like reinforced vinyl or mesh can be selected based on your climate and usage needs. Choosing durable materials ensures your custom cover continues to perform well over time.
Considering Color and Style Options
Customization isn’t just about fit—it also includes appearance. Pool covers come in a variety of colors and finishes, allowing you to match your outdoor space. Whether you prefer a neutral tone that blends in or a darker color that absorbs heat, selecting the right style can enhance the overall look of your backyard. A well-chosen cover can complement your pool area rather than detract from it.
Ensuring Proper Installation
Even the best custom pool cover won’t perform well without proper installation. Professional installation ensures that the cover is securely anchored and functions as intended. This is especially important for safety covers, which must be tightly fitted to support weight if needed. Proper installation also helps extend the life of the cover and prevents issues like sagging or shifting.
Maintaining Your Custom Pool Cover
Once your custom pool cover is installed, regular maintenance is key to keeping it in good condition. Cleaning debris, checking for wear, and ensuring proper tension will help extend its lifespan. For automatic covers, routine inspections of the mechanism are also important. Taking care of your cover protects your investment and keeps your pool in great shape.
Benefits of a Custom Pool Cover
A custom pool cover offers several advantages over standard options. It provides a precise fit, better protection, and improved energy efficiency. It also enhances safety and reduces maintenance by keeping debris out of the water. Most importantly, it ensures that your unique pool shape is fully covered without compromising functionality or appearance.
Creating the Perfect Fit for Your Pool
Customizing your pool cover is the best way to ensure it meets your specific needs. By considering your pool’s shape, features, and usage, you can choose a cover that offers both practicality and style. With the right design and professional installation, your custom pool cover will protect your pool, simplify maintenance, and enhance your outdoor space for years to come.